Well, this has been a long time coming. It required one really hungover day post a masquerade ball where the body and mind decided that crafting, cups of tea, and chill beats were about the extent of excitement we could handle.
Earlier this week, I had done a bunch of searching and found the ‘breakthrough’ crafting material - Jeweller’s felt. Paired with a bit of ‘contact cement’ $2 glue from the Magic Dollar store, we were in business.
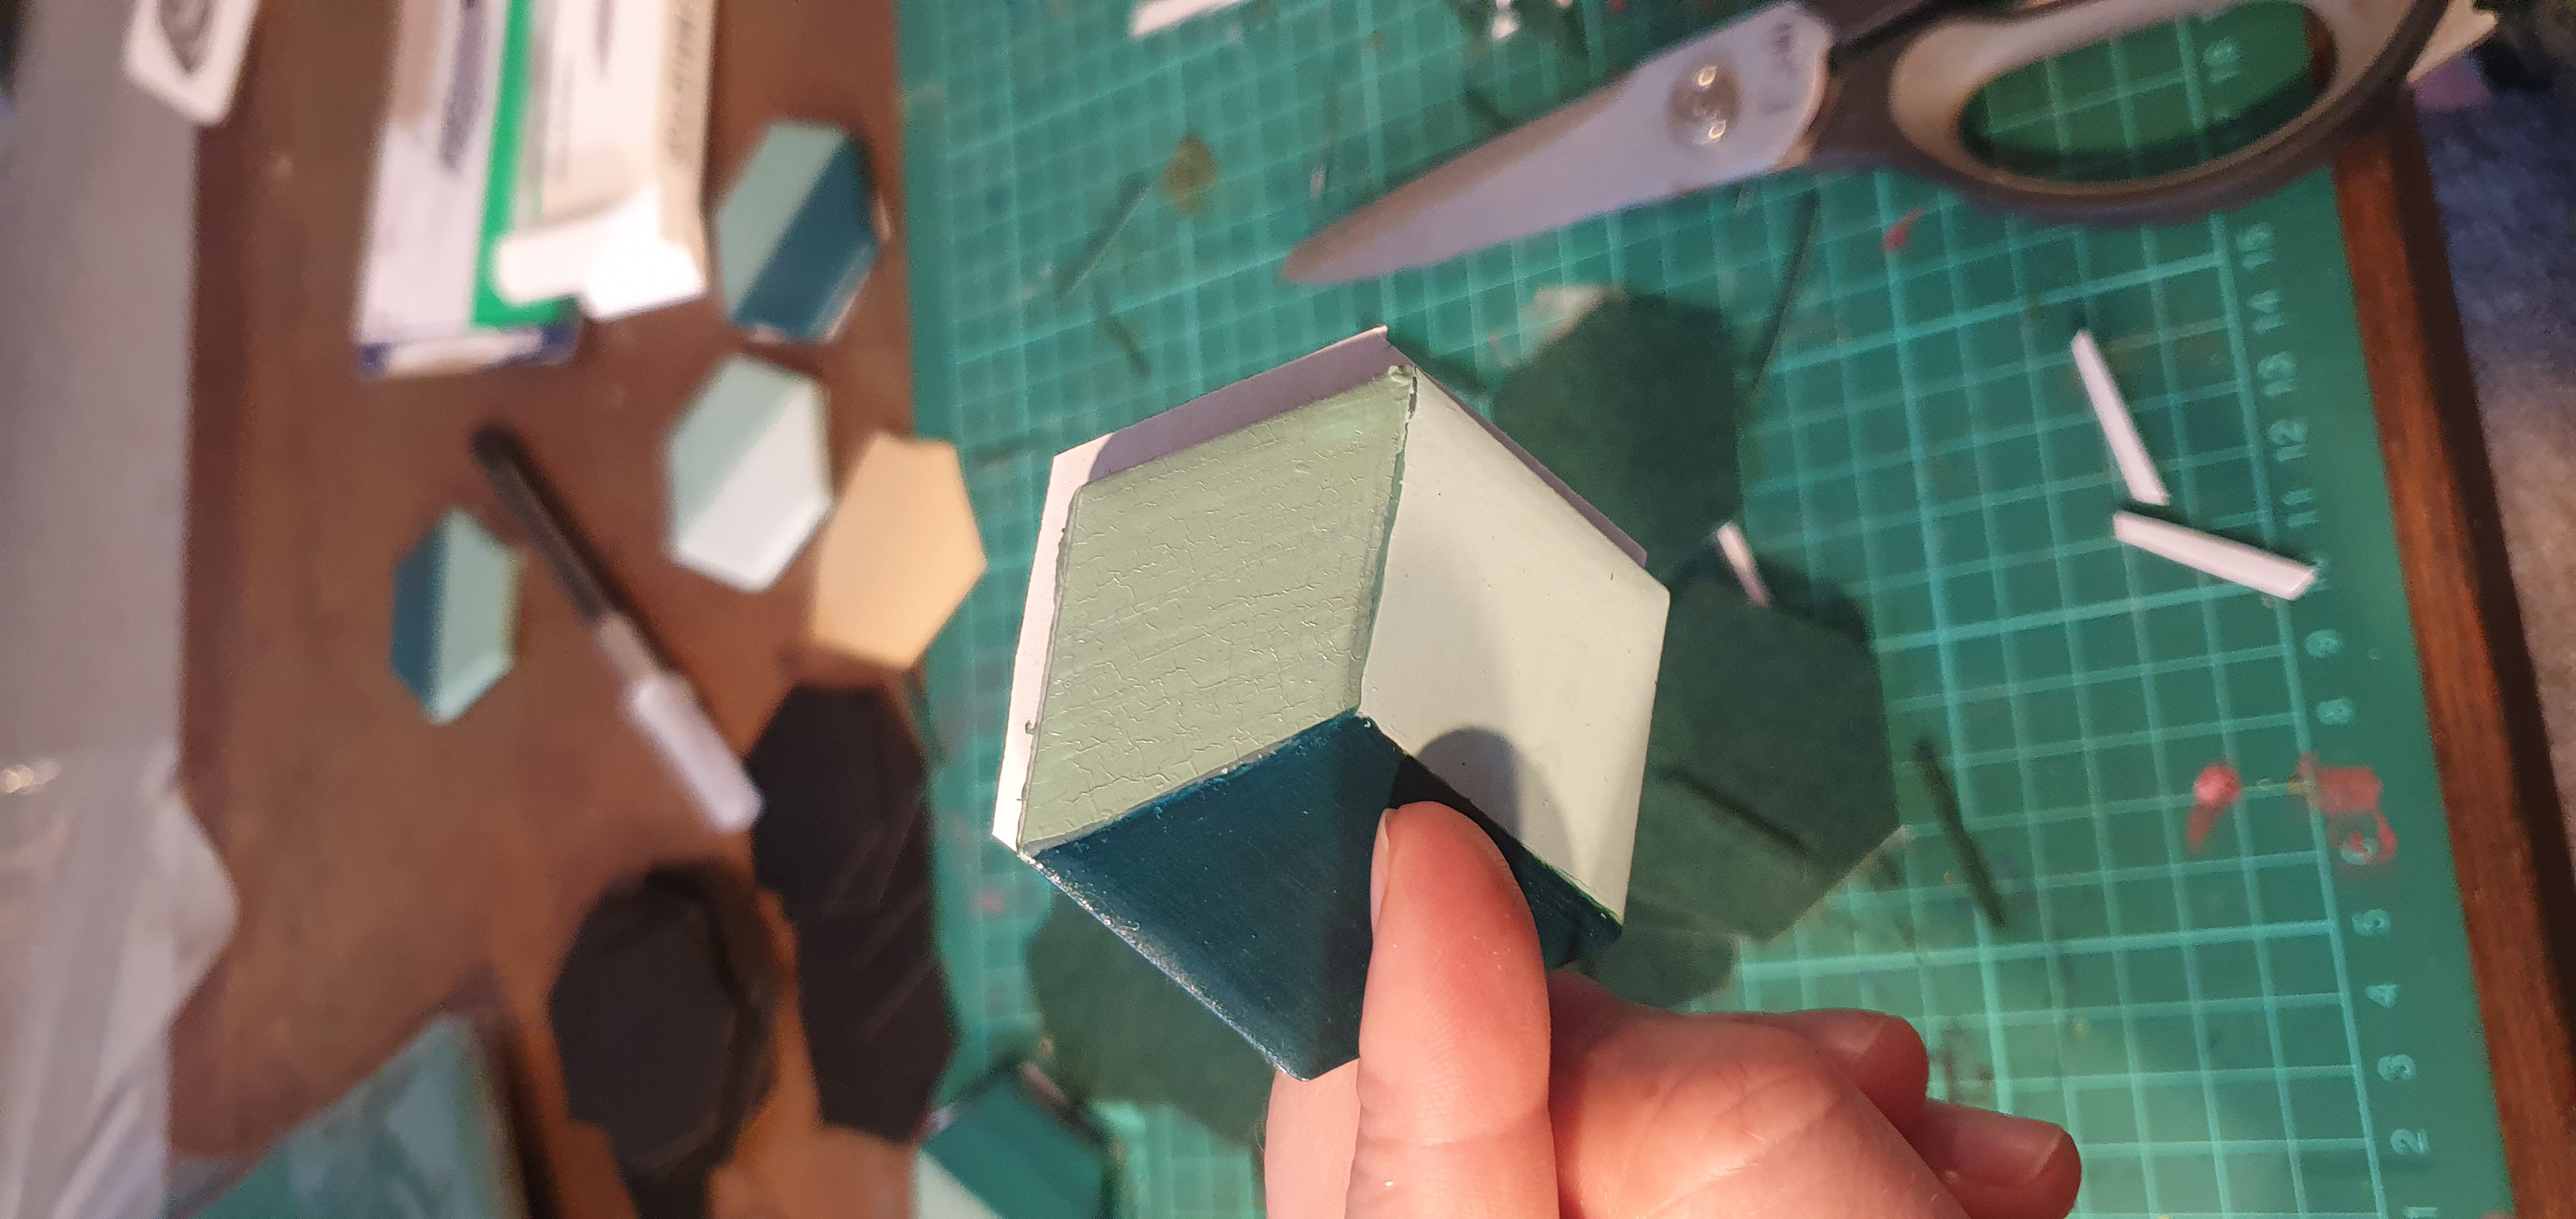
Before that I had been looking at adhesive foam and it was always too thick. I need the backing to barely add any measurable thickness to the tile heights as I didn’t need any more potential confusion on which colour was to connecting to what.
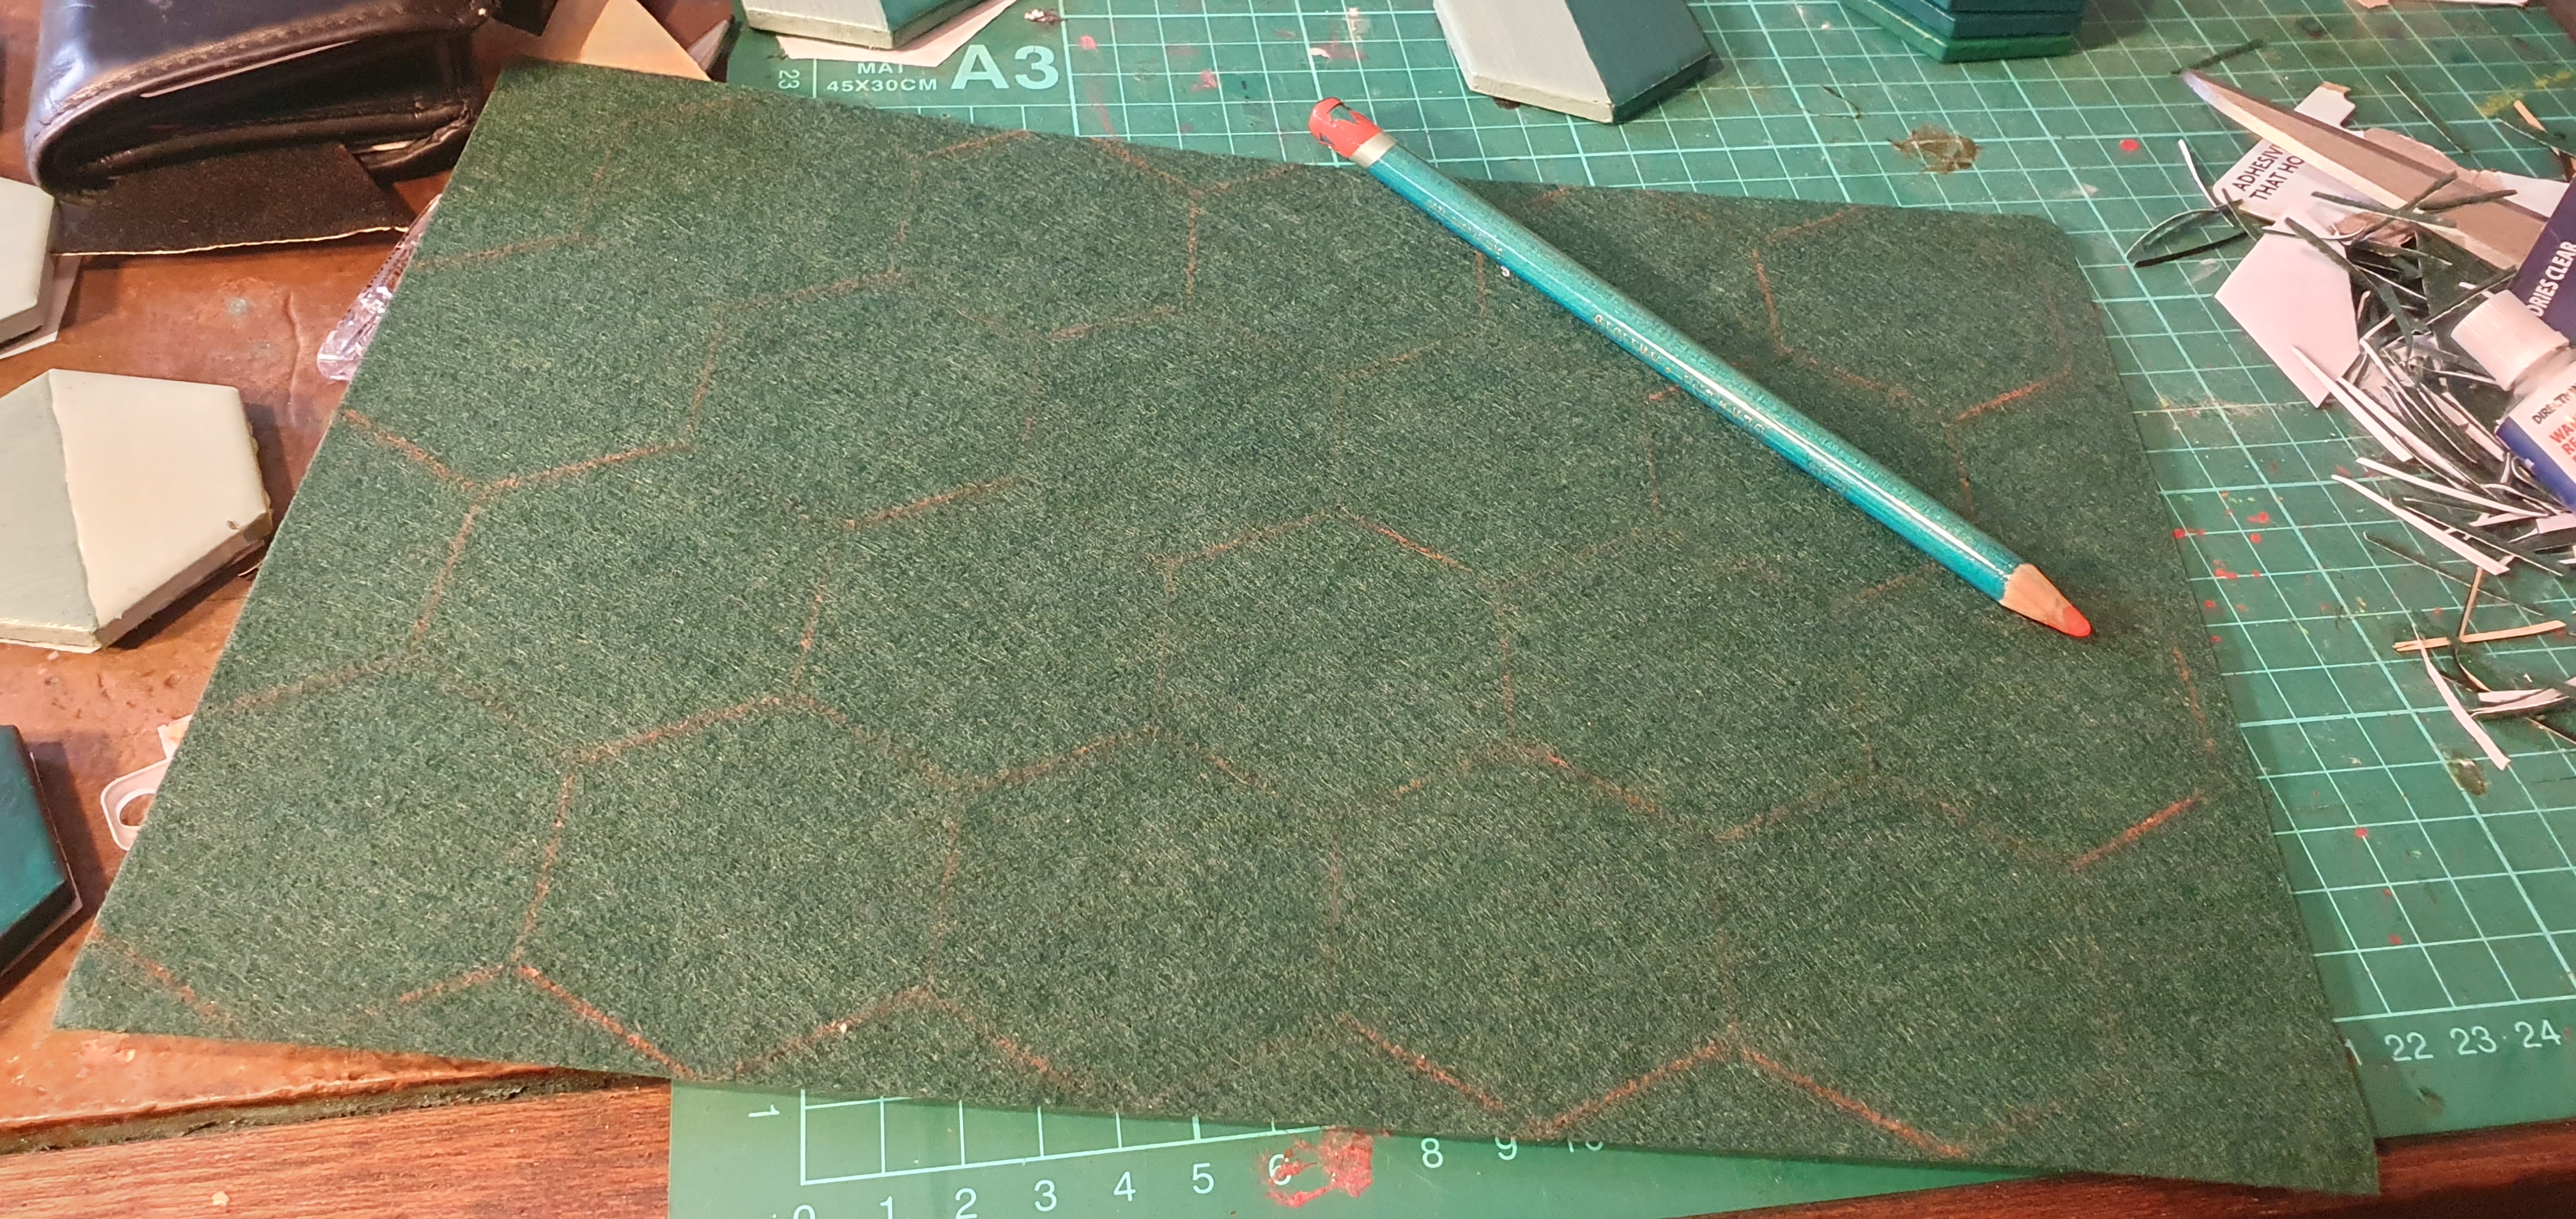
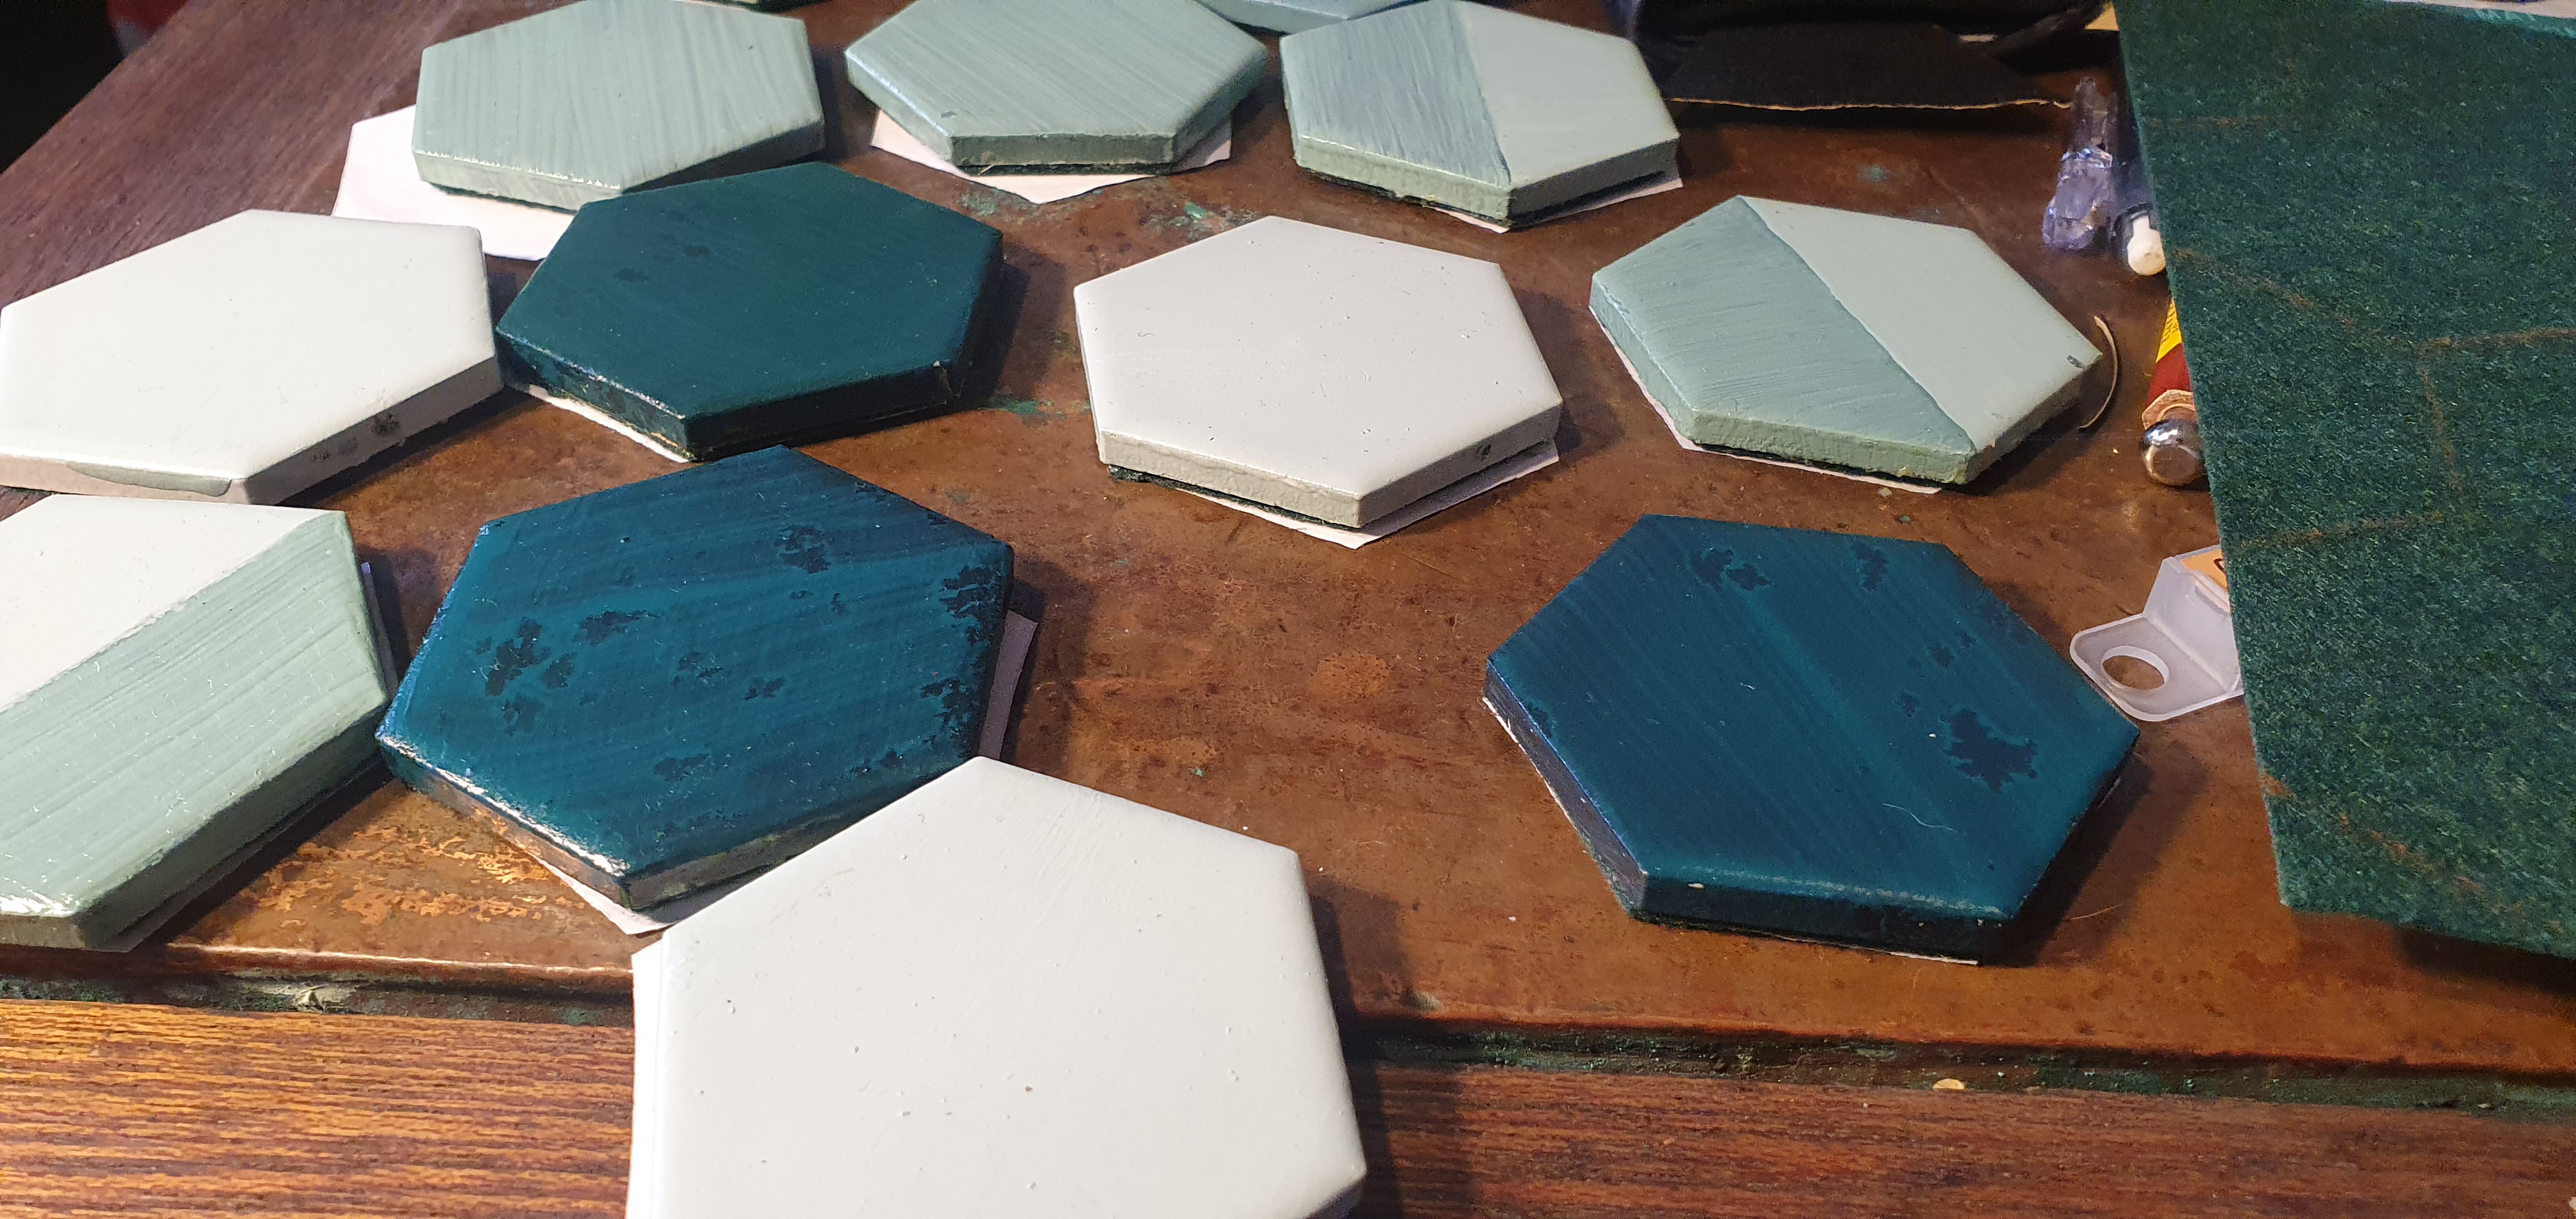
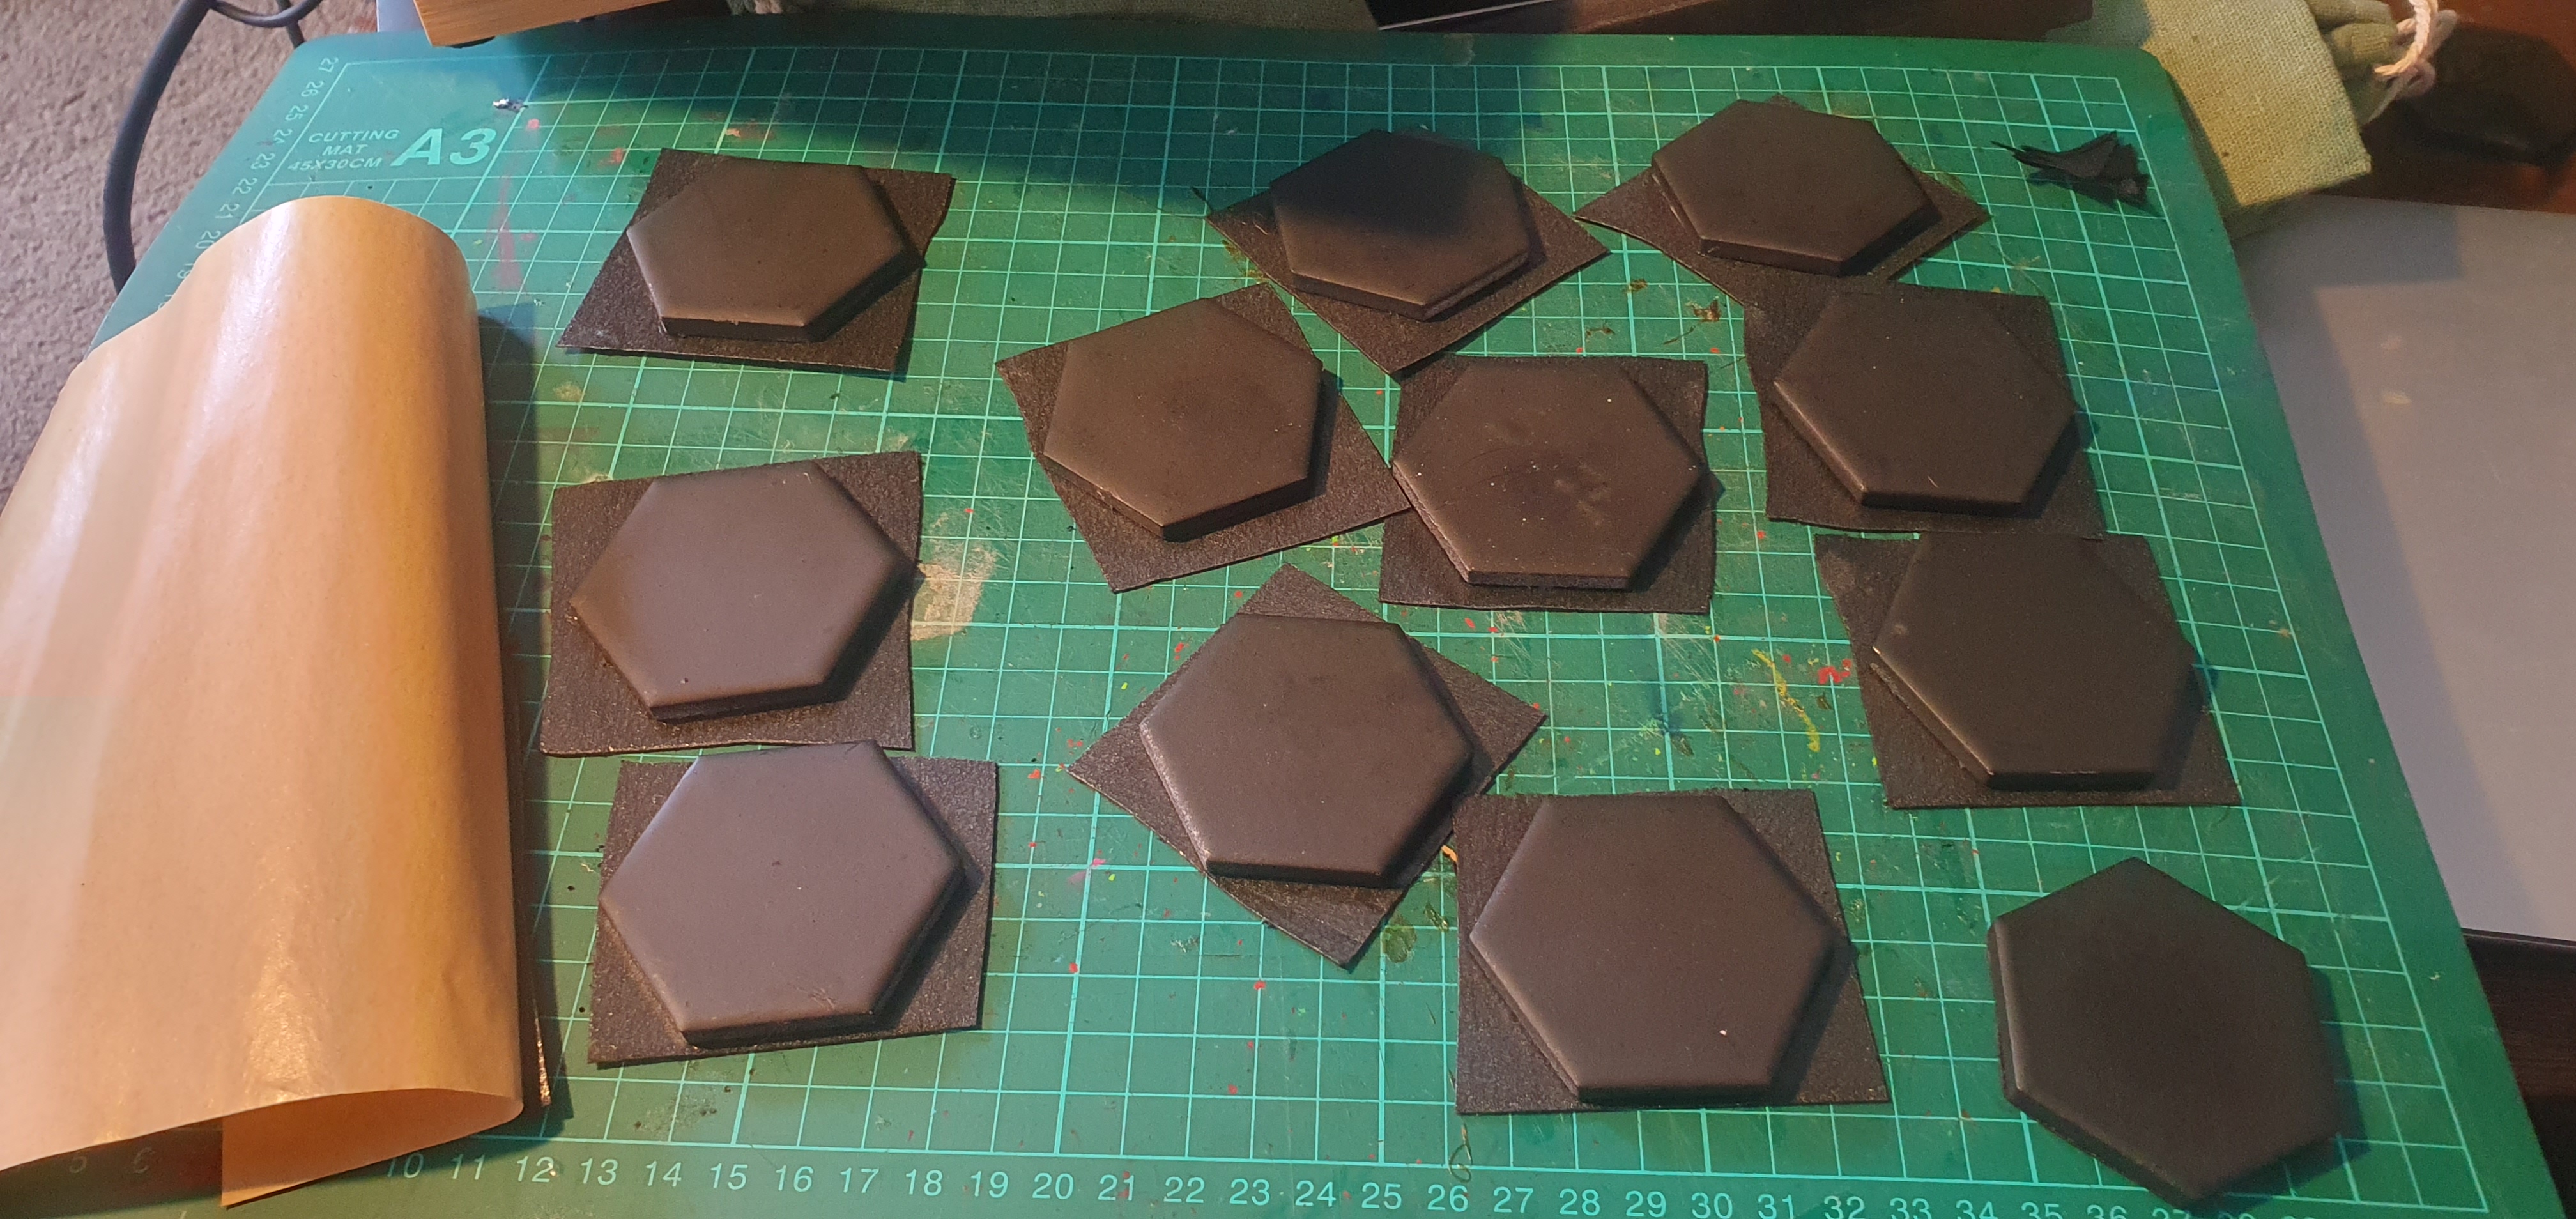
At first I thought I was onto quite the winner of just tracing out the hexagons onto the sheet, with the green felt neatly fitting 20 tiles per sheet. I traced, cut with scissors, trimmed down to exact size (as tracing around the hexagons resulted in slightly larger hexagons when cut).
I persevered at this tactic for a full two sheets before finalling deciding there was a significantly more efficient way.
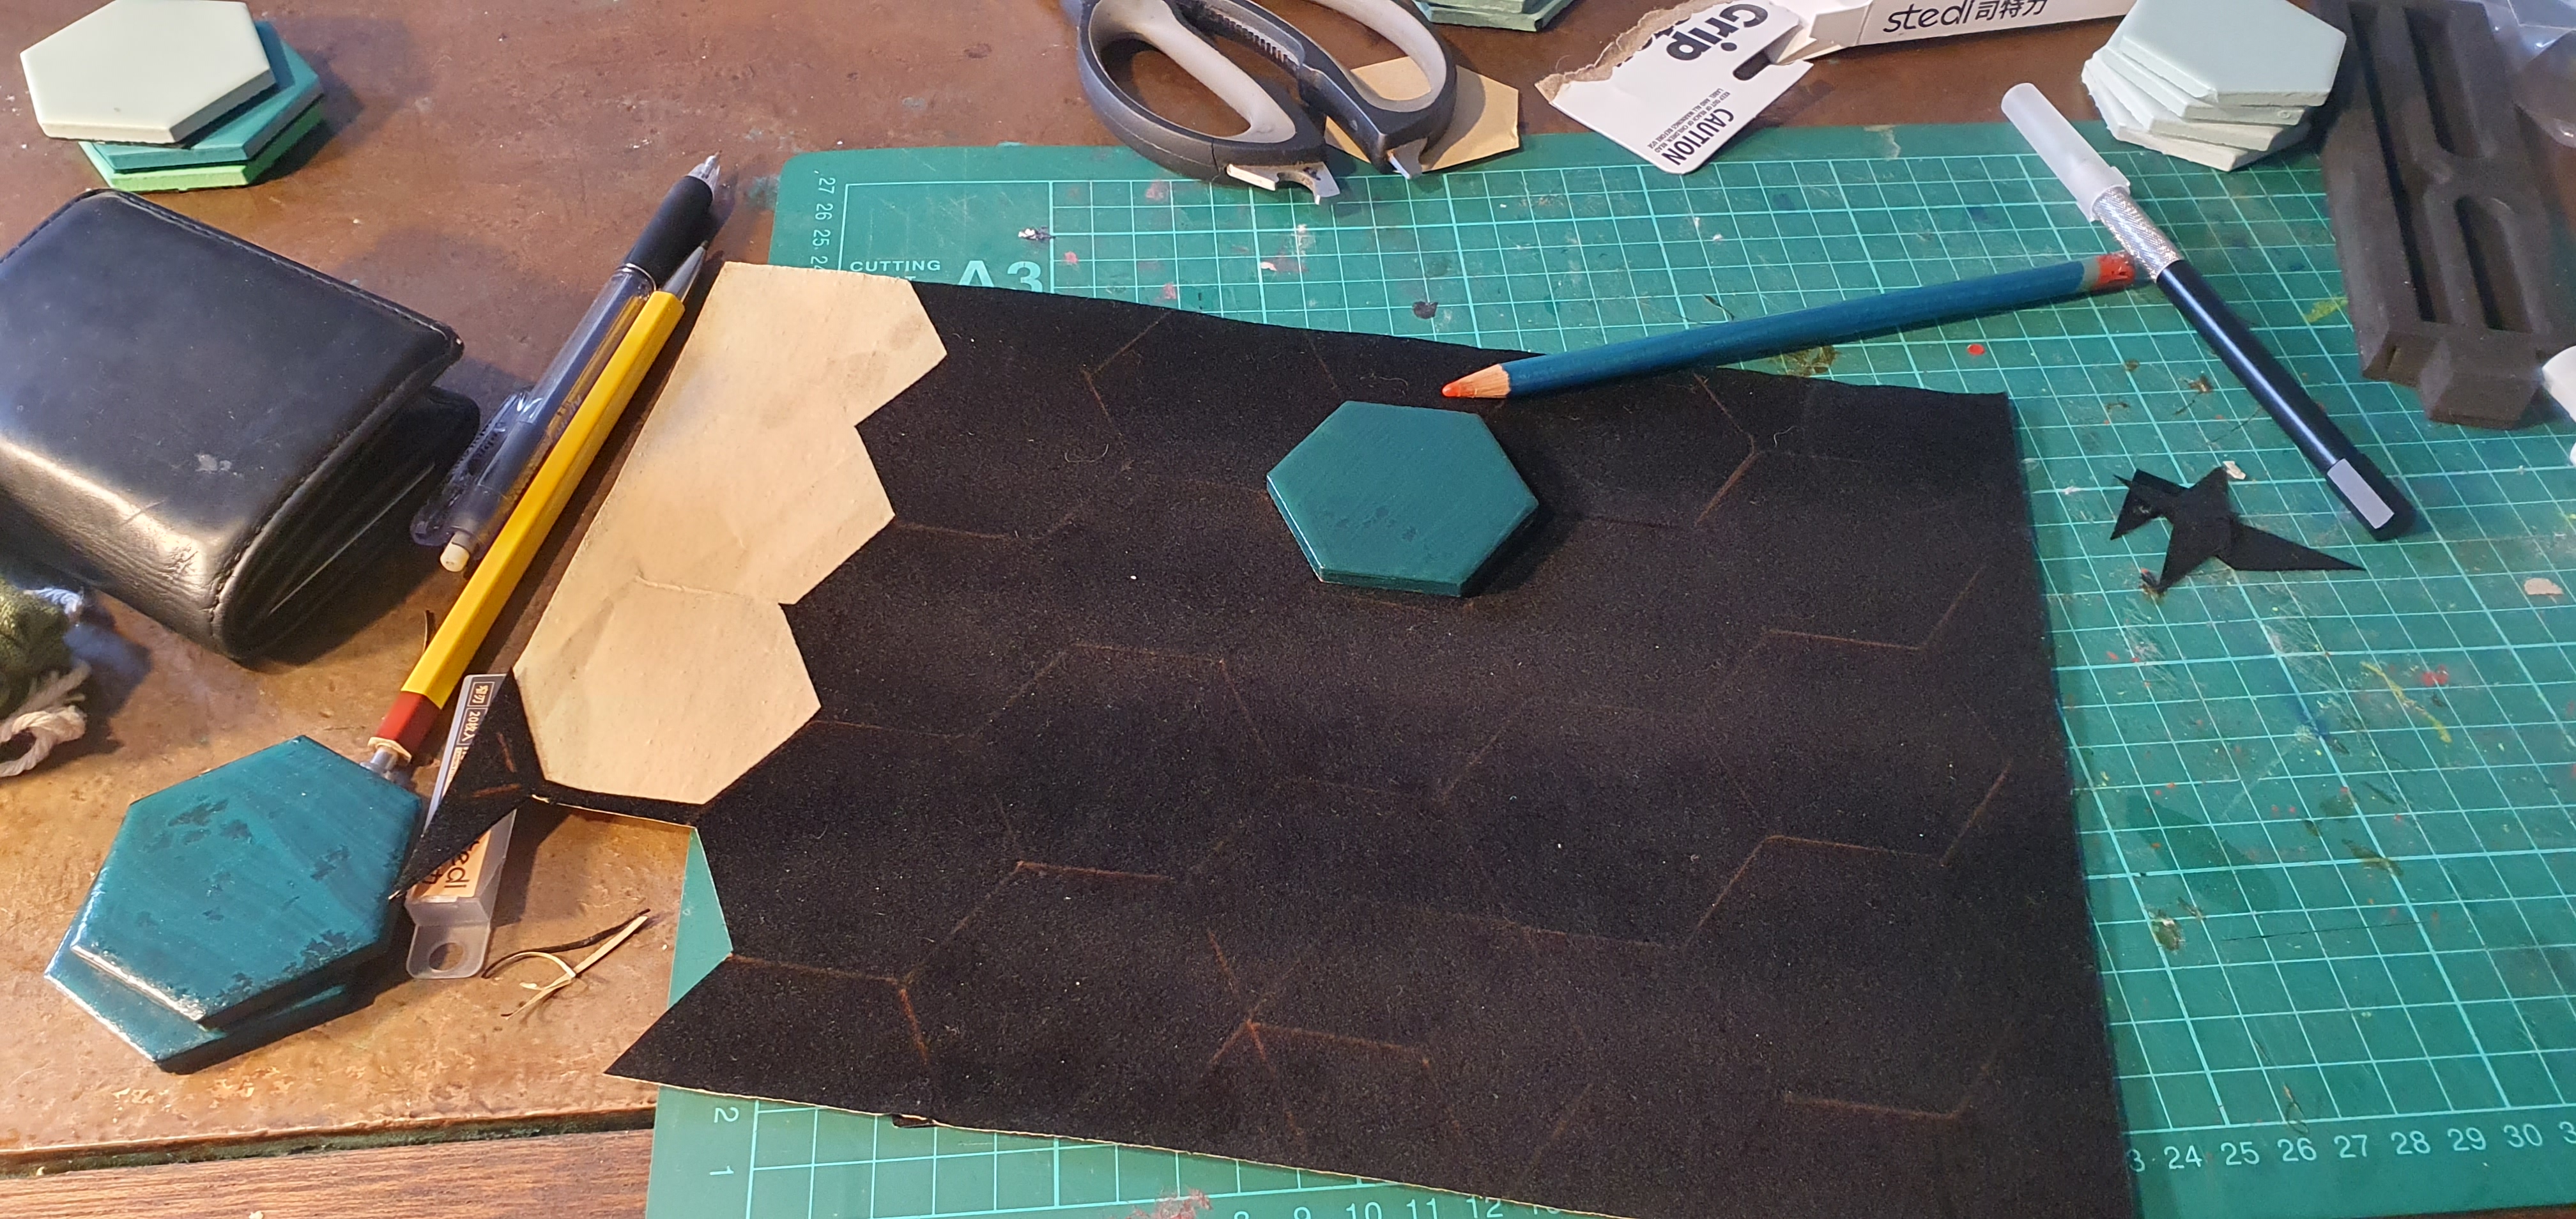
I’d bought a nice new craft knife, but unfortunately found that due to the adhesive and thin nature of the felt, it wasn’t the most efficient, whilst it could cut a continuos line beautifully, it was too sharp to run up against the tiles and I cut the paint a few times.
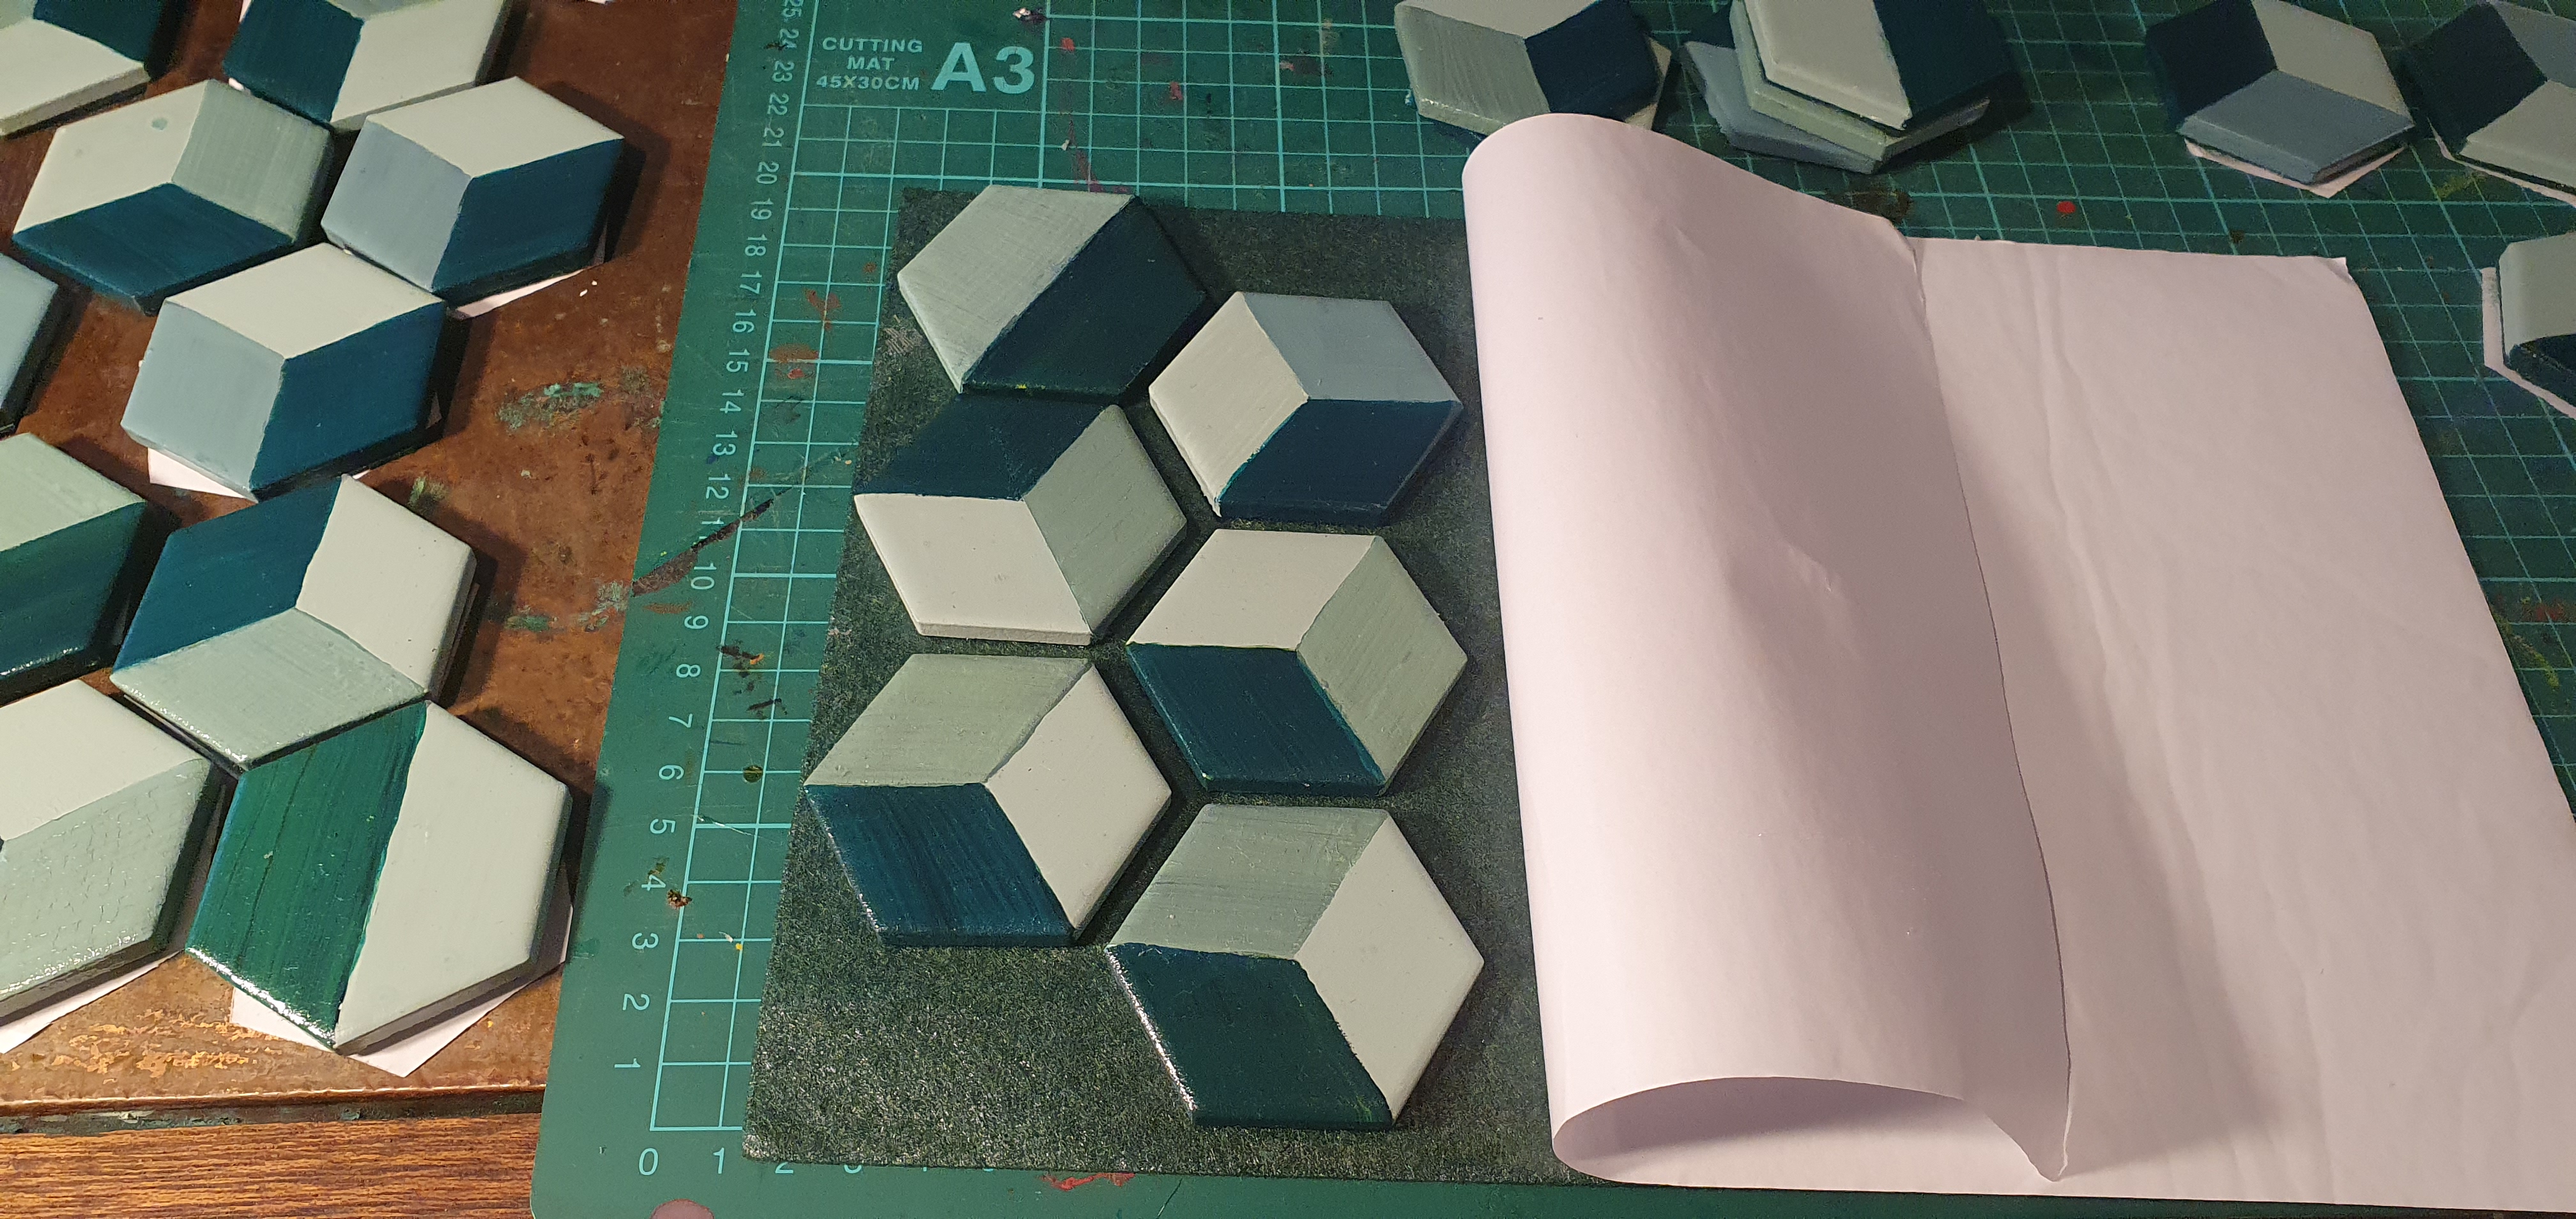
Plain old scissors ended up being the superior tool. Handling the glue and edges far better.
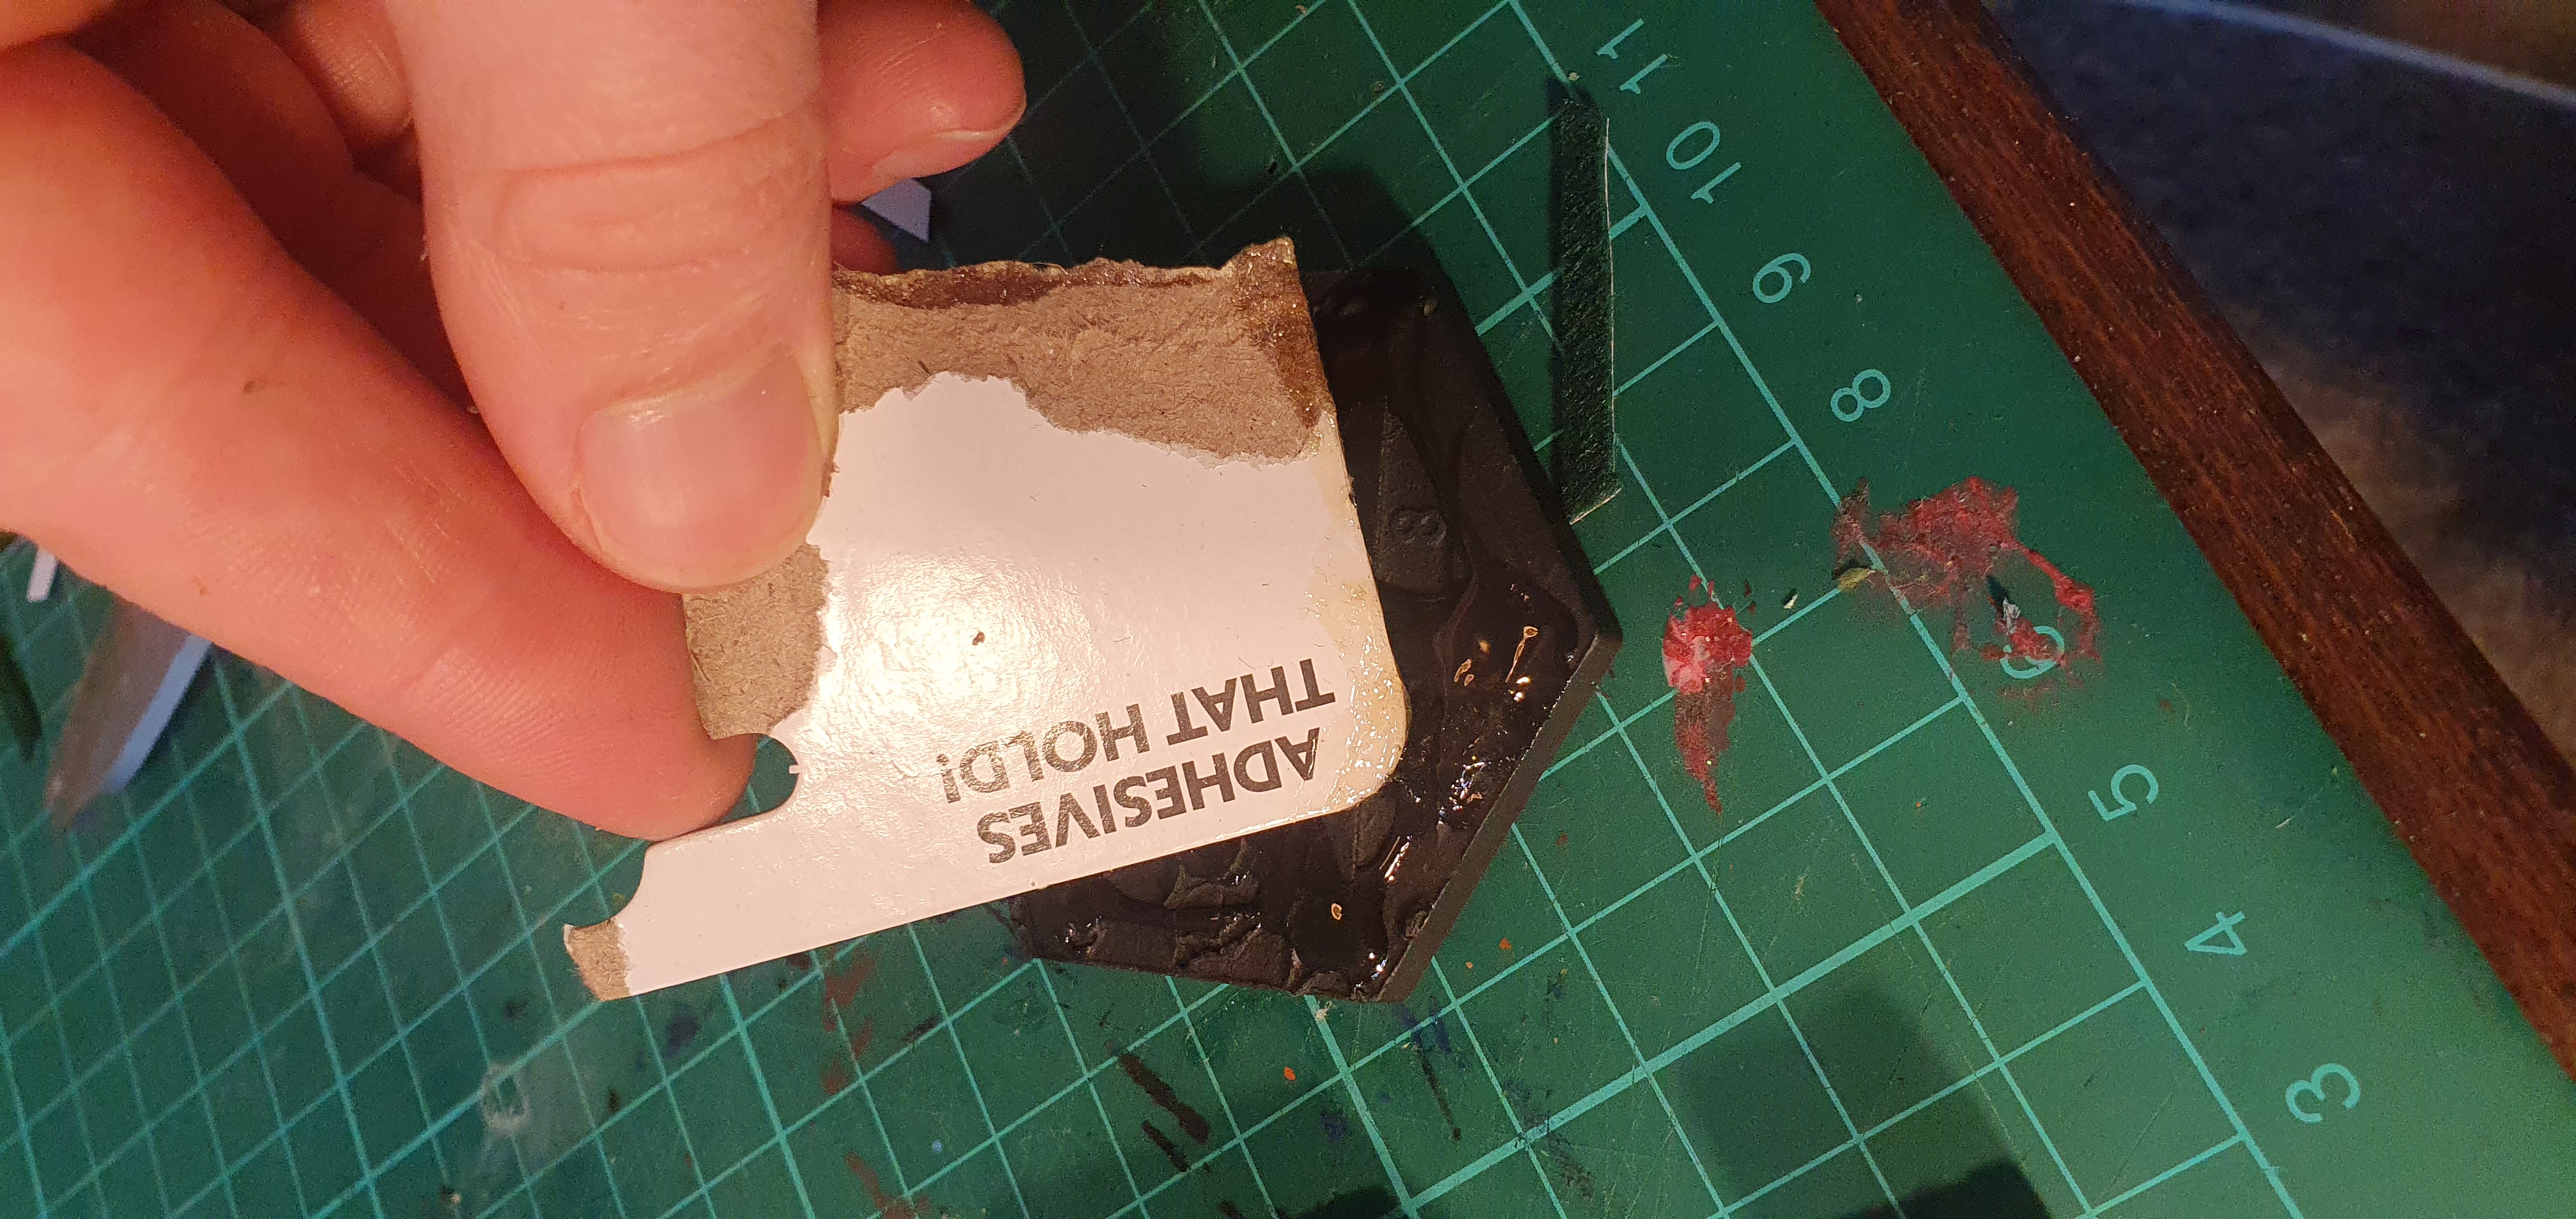
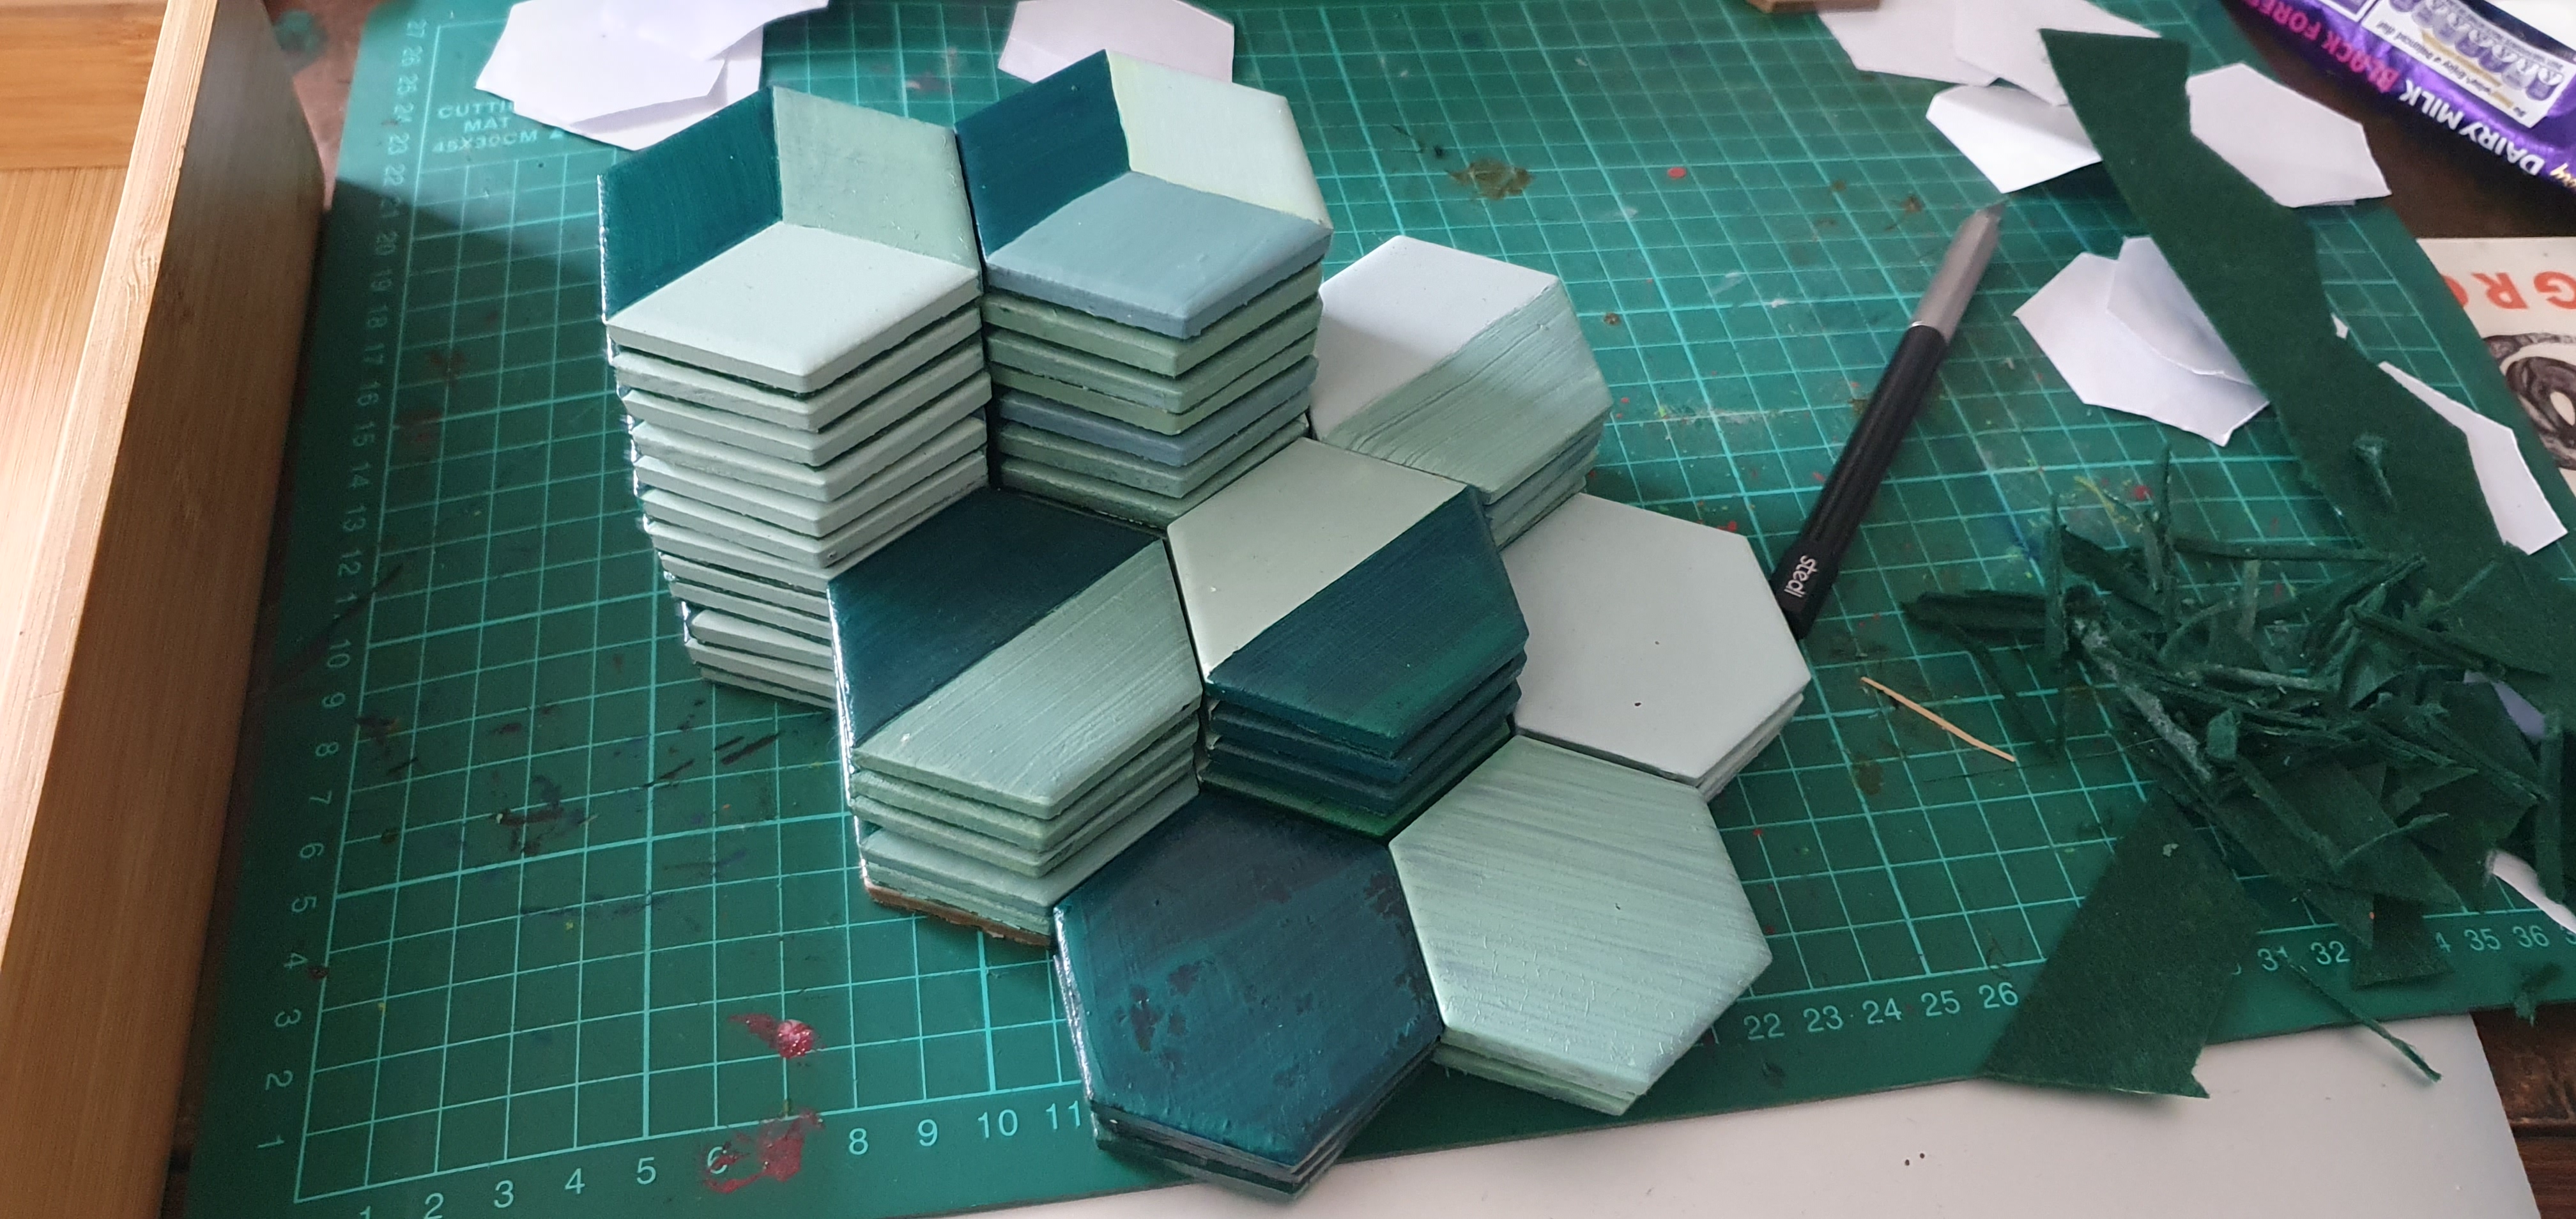
I went all in on the glue pattern, a daub on each corner, then a thin criss cross through the middle, spread out with a bit of cardboard along the edges.
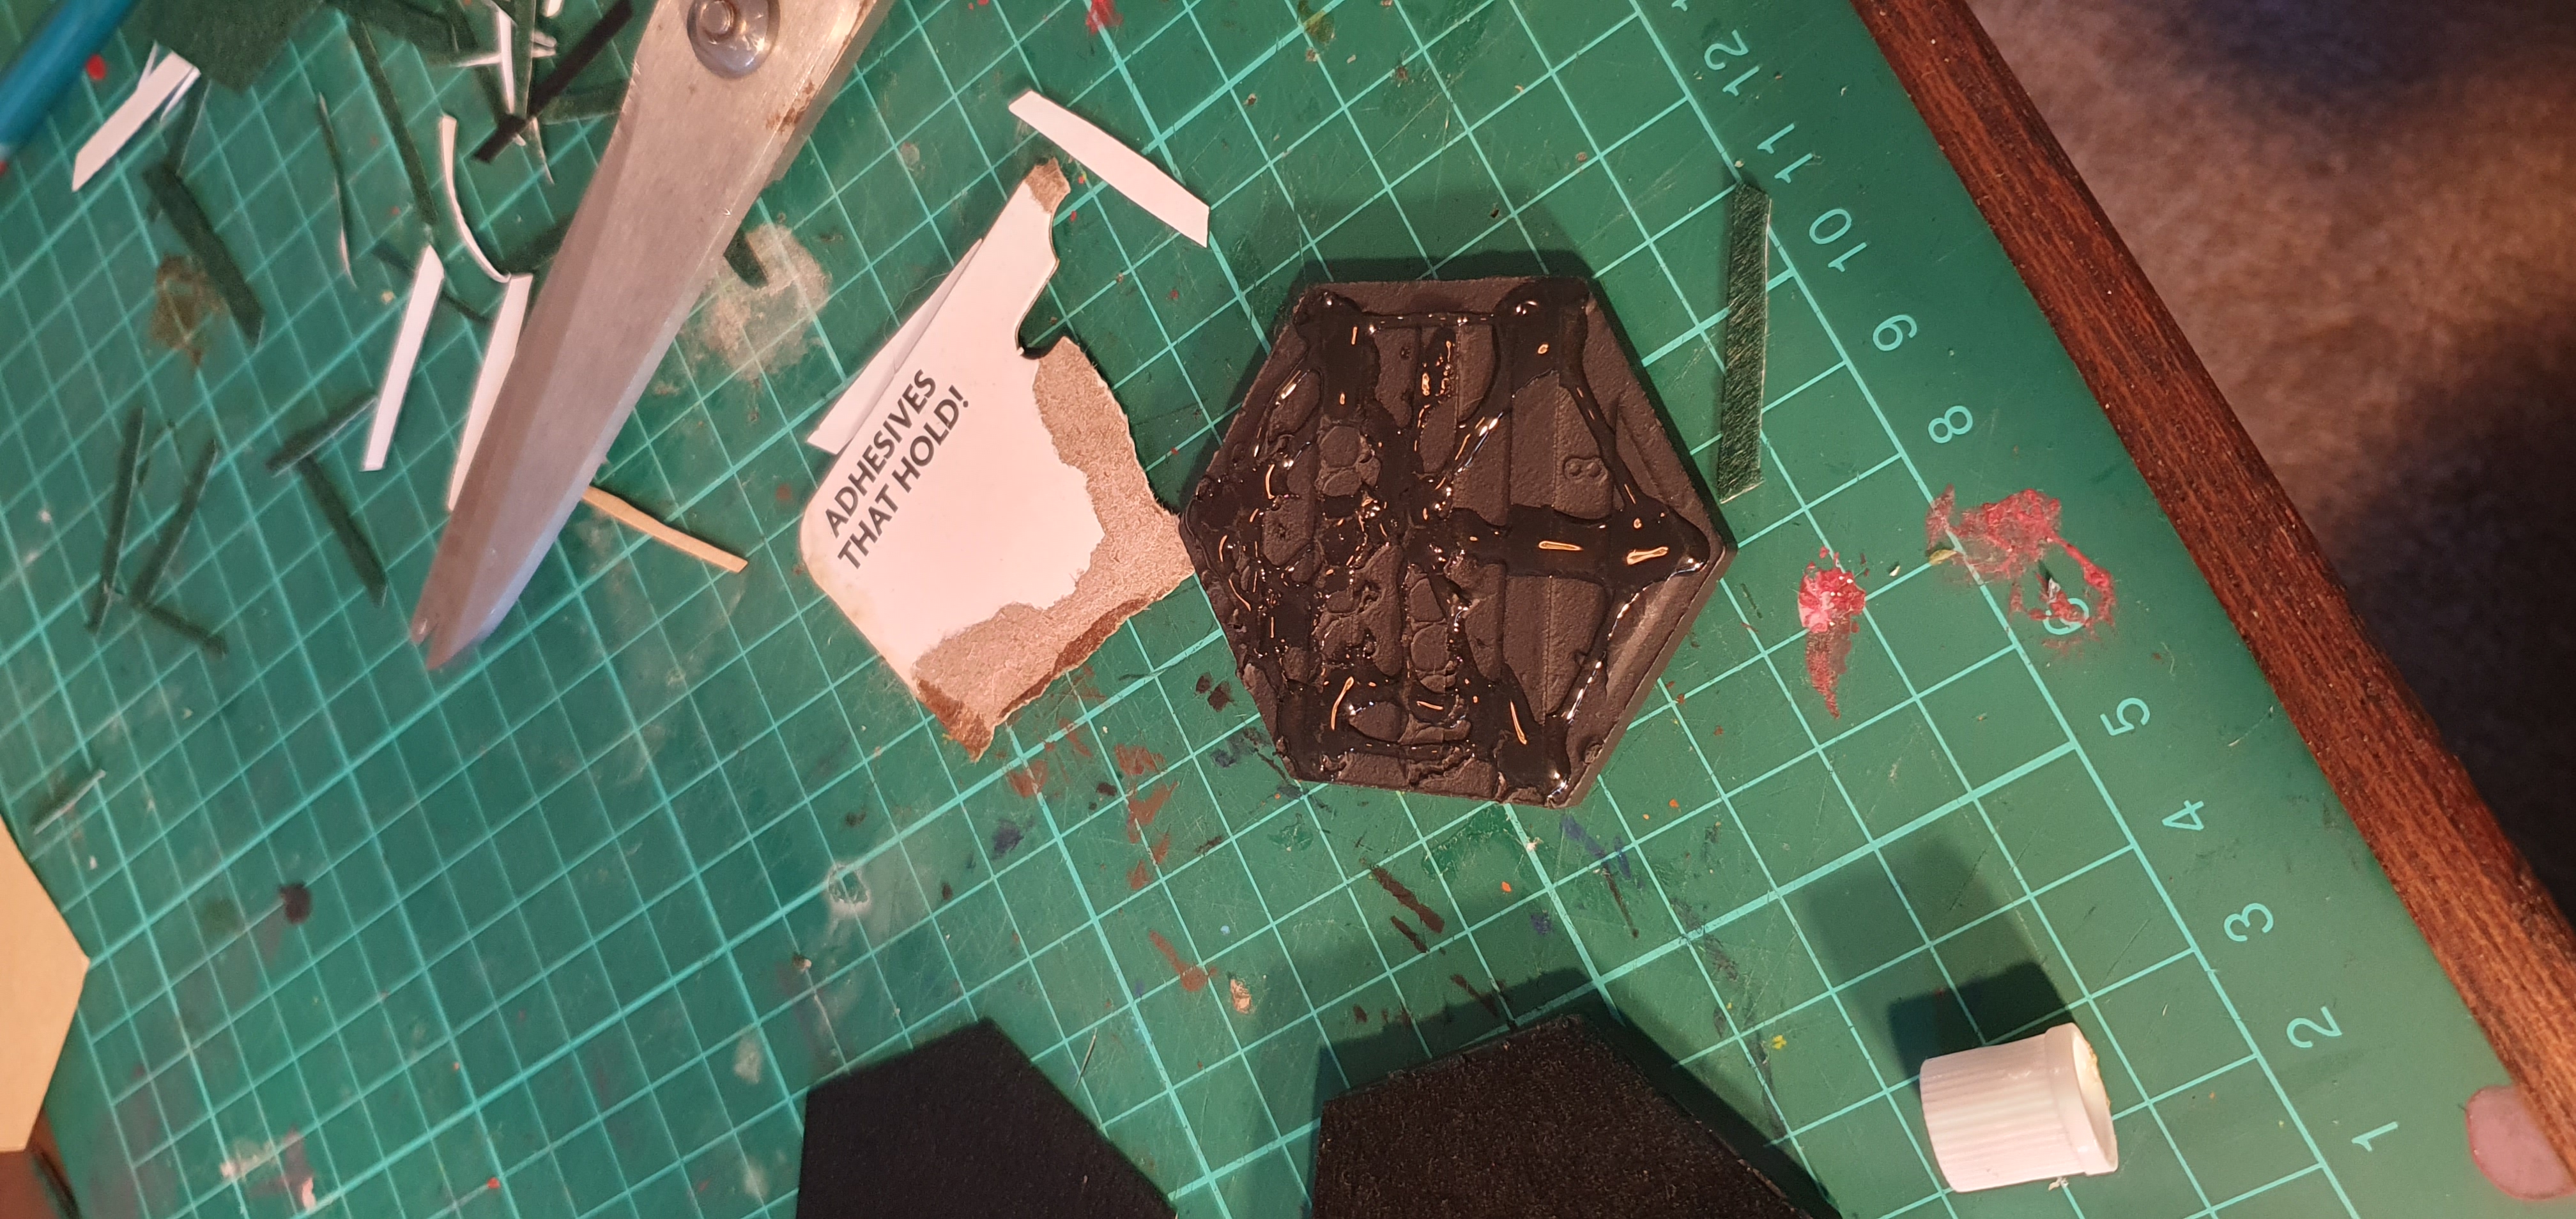
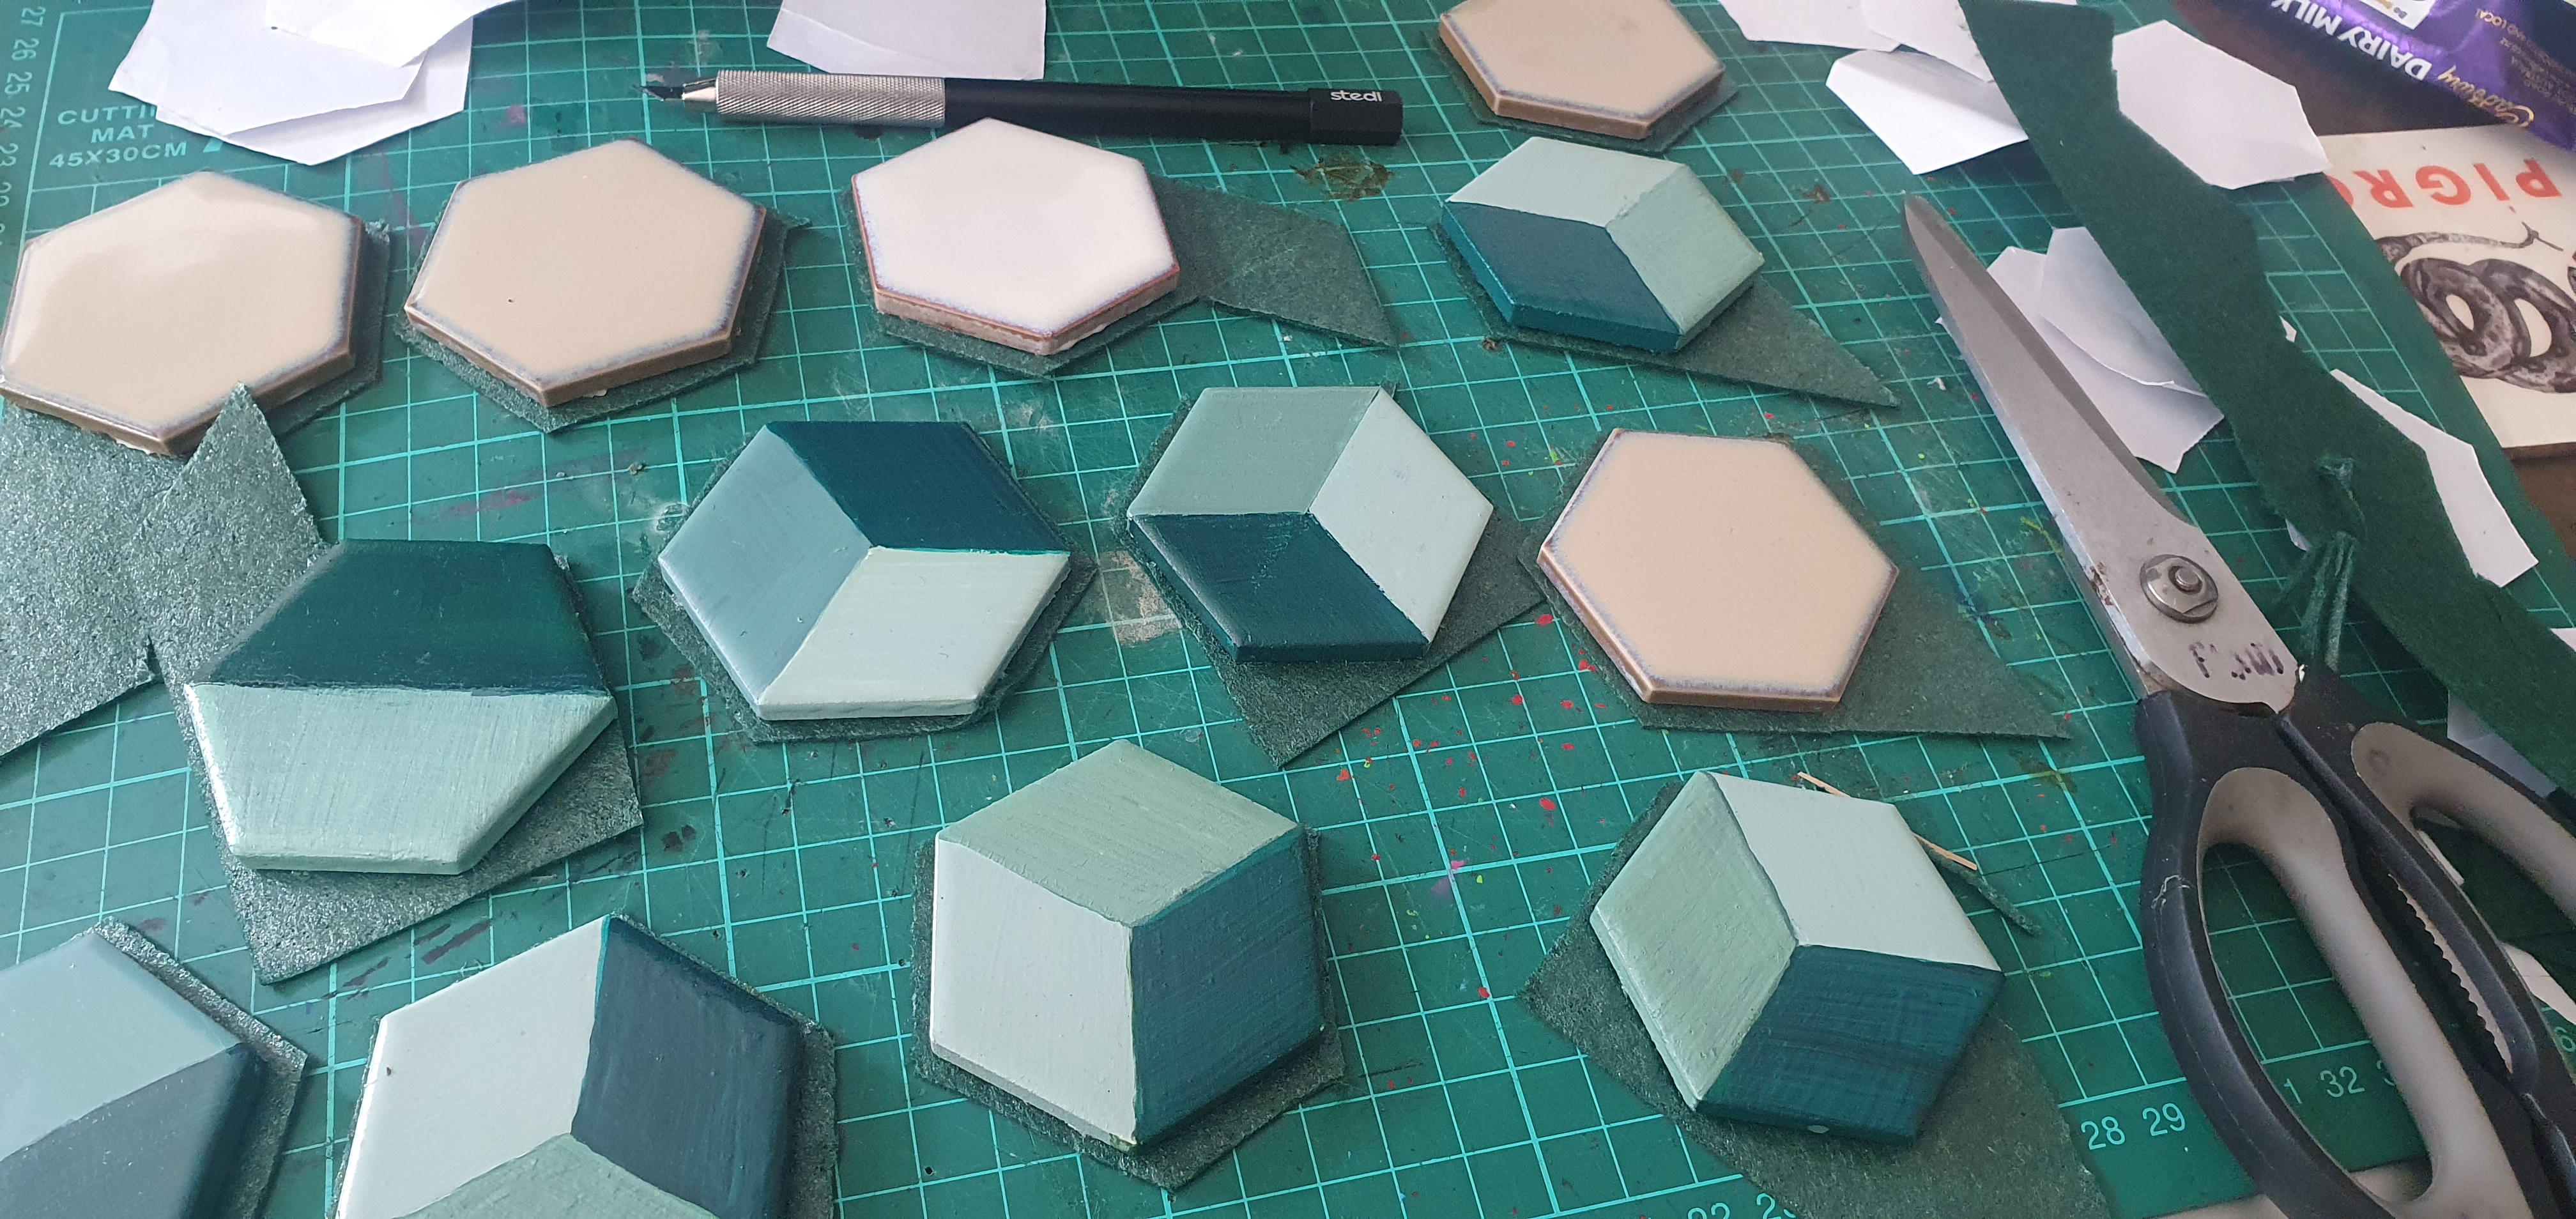
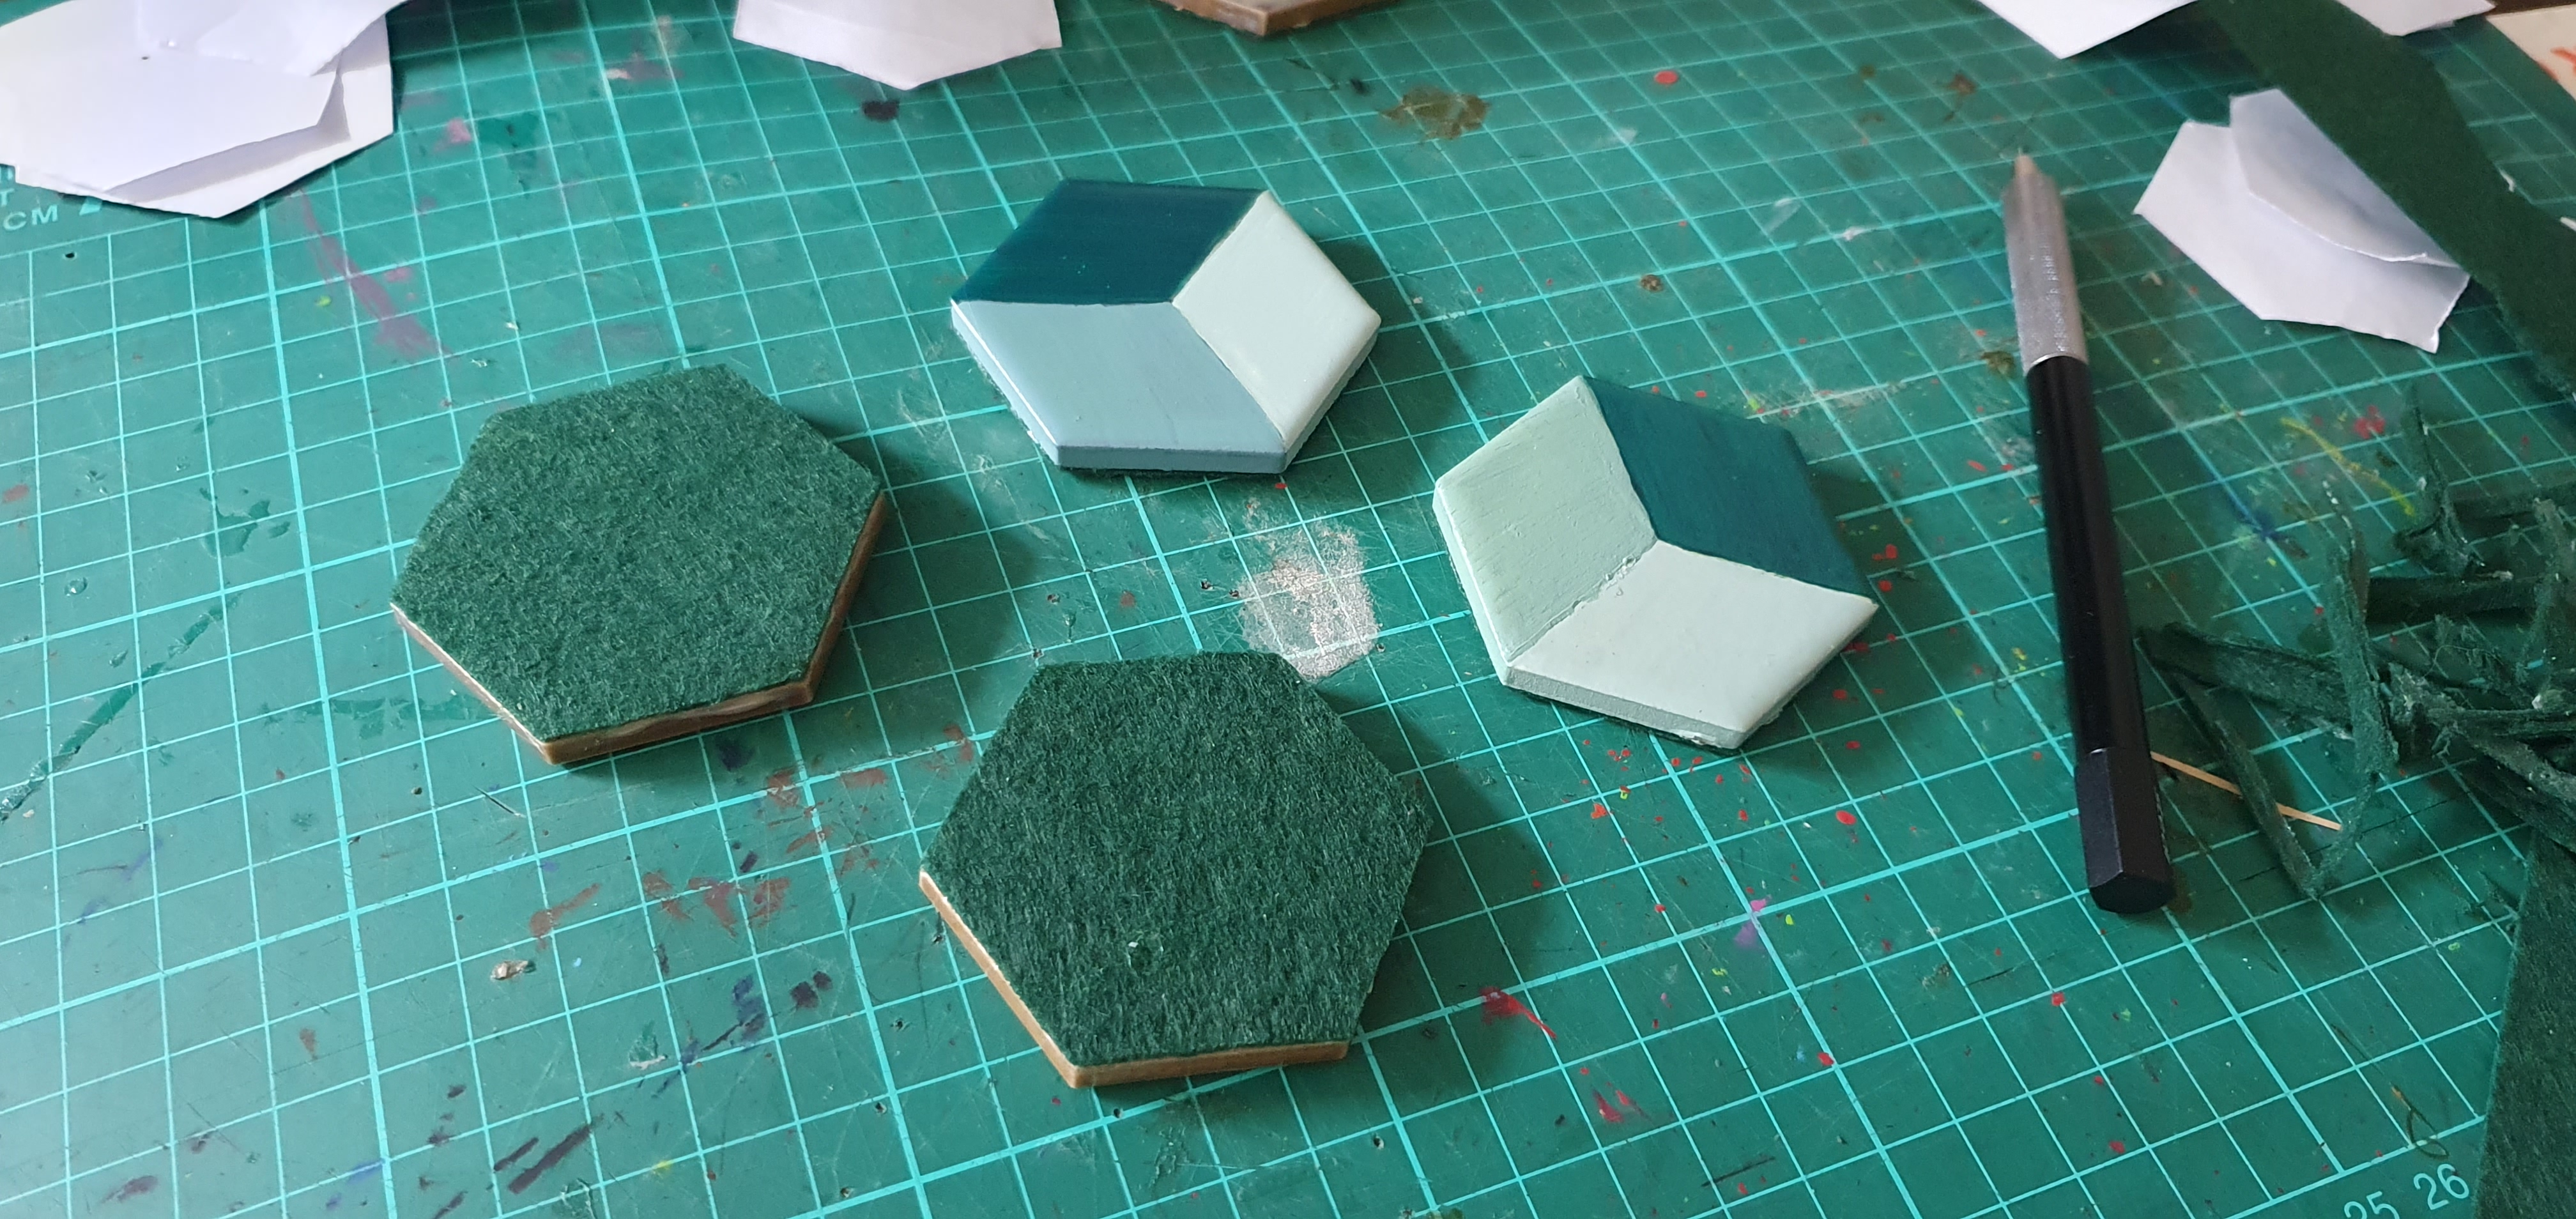
This further protects the tiles when stacking and rattling around in a box from damaging other tiles - this part was a known intentional that I’d been meaning to do essentially since I bought the first tiles.
The unintended bonus, was that it also stops the tiles from slipping around anywhere near as much. These little felt pads aren’t as grippy as say foam would have been, but they do significantly reduce the sliding on a stacked tile. Great for when playing outdoors or on uneven surfaces.
My next bulk test is to see if you can do this whilst the tiles are still on their bulk sheet. The spray and all (felt may react poorly with spray but worth a shot).
DIY Page
I’ve also updated the DIY page itself, it had incorrect tile totals post game balancing, broken links and poor formatting (still could use a fair bit of work, but it’s better)
Lava your comments here
Loading comments...